-
 Carsten Rose authoredCarsten Rose authored
Installation of QFQ
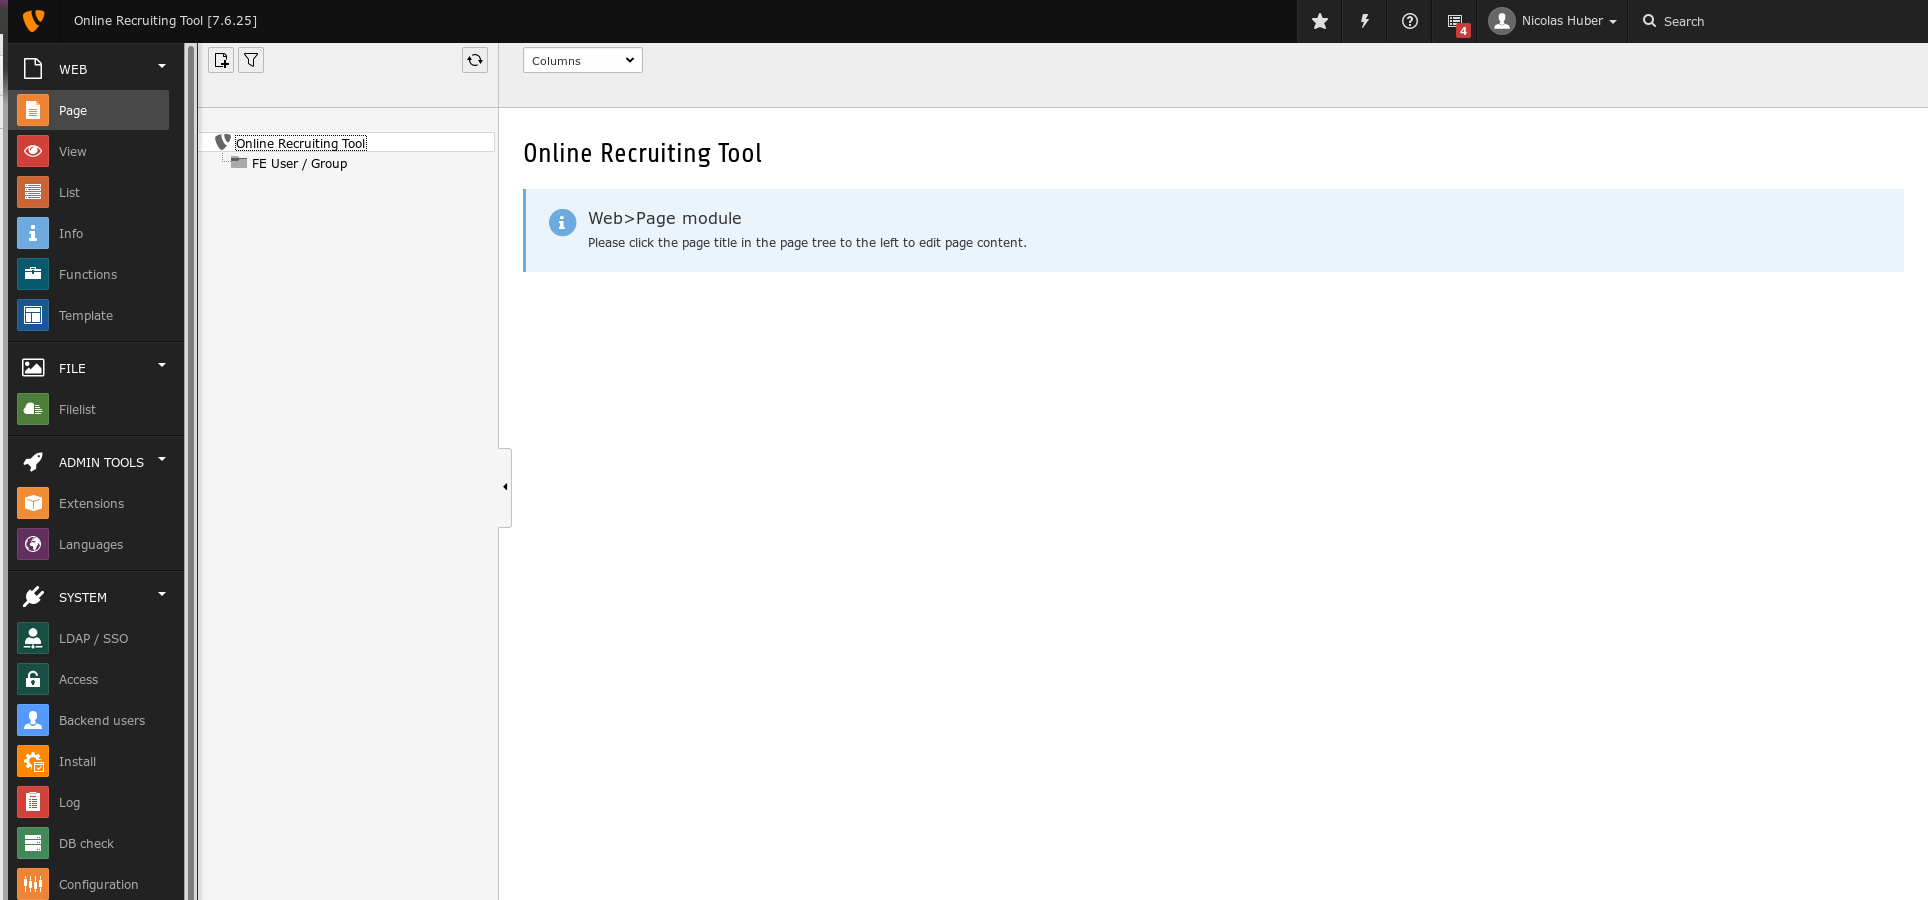
First you have to log in into your Typo3. It is going to look like this:
Then you have to install the QFQ Extension. Go to https://qfq.io/ to download the extension. In Typo3: Go to the Extensions Menu and click on the upload button. There you choose the the file, you just downloaded. Now the QFQ extension is installed. If you get an error message that the file is too big, you have to edit your php.ini file and increase the memory limit.
Copy/rename the file <Documentroot>/typo3conf/ext/<ext_dir>/config.example.qfq.ini to <Documentroot>/typo3conf/config.qfq.ini and configure the necessary values: config.qfq.ini The configuration file is outside the extension directory to not loose it during updates.
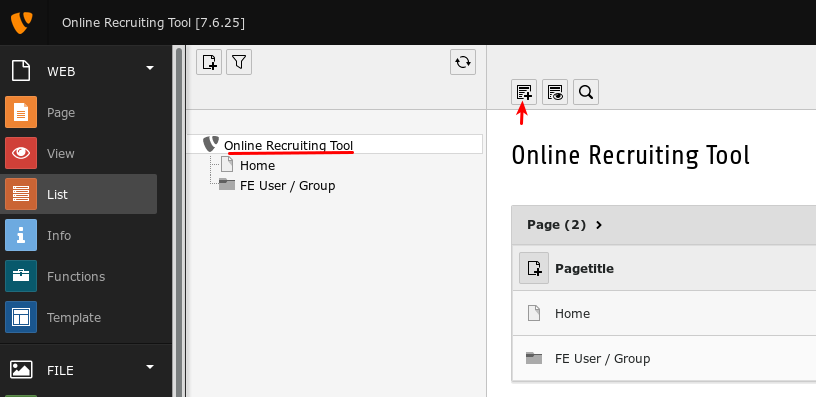
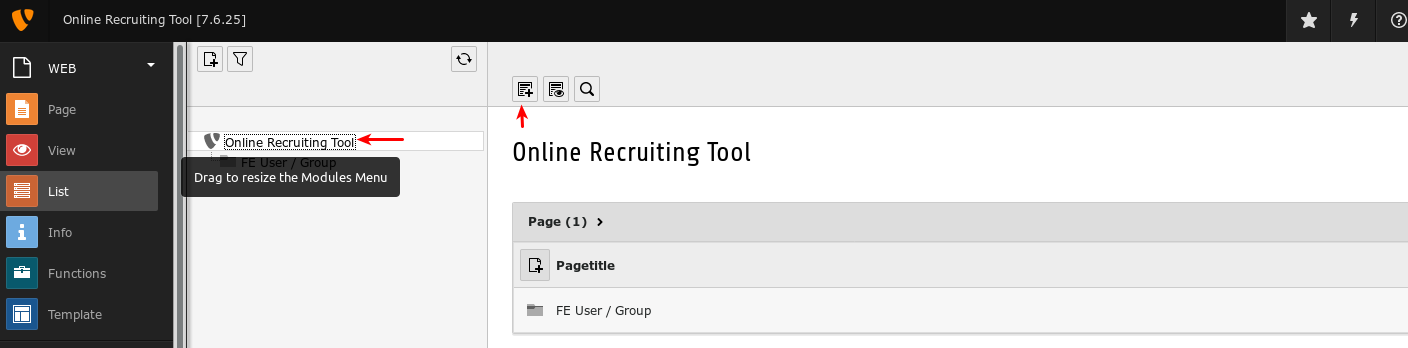
First we want to include Bootstrap and Javascript. For that we create a template. Go to list and create a new page.
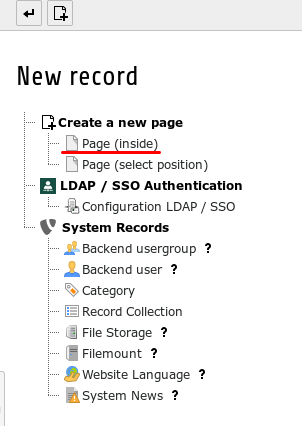
Click on Page (inside)
You can choose some Page Title. I am calling it Home. Next you go to Behaviour:
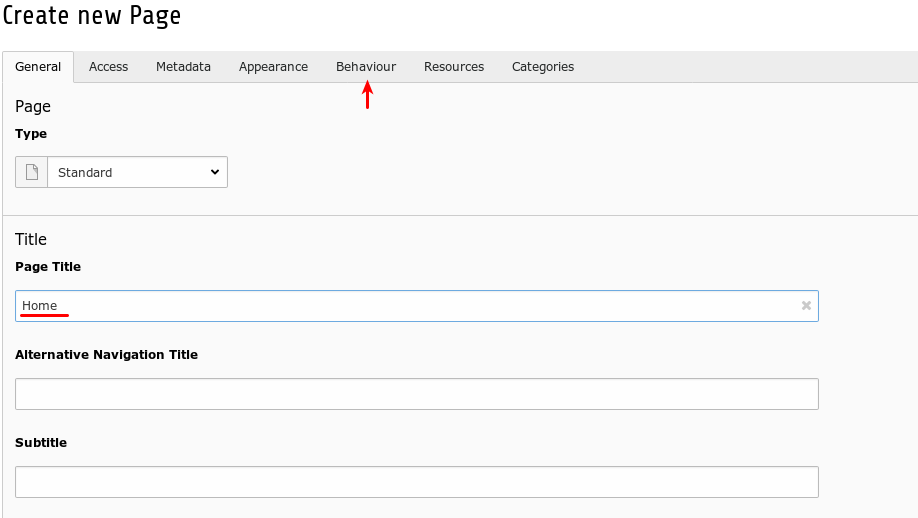
Here you choose a URL Alias. I am going to call it home. So in my case, to access this page, if would have to go to the following website: www.<nameOfYourWebsite>.<domain>/home
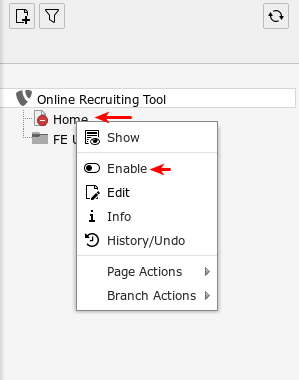
Then you save it. Now you see a new page which is disabled for now. You have to enable it (so the site will be visible on the website). Right click the Page Home and click 'Enable'.
Now on that page you want to include Bootstrap and CSS. For that purpose you click on Home and you add a new content element. Click on template:
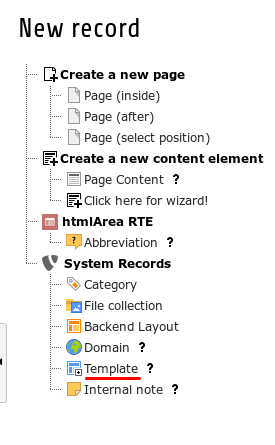
Now we name the Template: ext:site (actually you can call it whatever you want)
Under setup you paste the following:
page = PAGE

page.meta {
  X-UA-Compatible = IE=edge
  X-UA-Compatible.attribute = http-equiv
  viewport=width=device-width, initial-scale=1
}

page.includeCSS {
  file1 = typo3conf/ext/qfq/Resources/Public/Css/bootstrap.min.css
  file2 = typo3conf/ext/qfq/Resources/Public/Css/bootstrap-theme.min.css
  file3 = typo3conf/ext/qfq/Resources/Public/Css/jqx.base.css
  file4 = typo3conf/ext/qfq/Resources/Public/Css/jqx.bootstrap.css
  file5 = typo3conf/ext/qfq/Resources/Public/Css/qfq-bs.css
}

page.includeJS {
  file01 = typo3conf/ext/qfq/Resources/Public/JavaScript/jquery.min.js
  file02 = typo3conf/ext/qfq/Resources/Public/JavaScript/bootstrap.min.js
  file03 = typo3conf/ext/qfq/Resources/Public/JavaScript/validator.min.js
  file04 = typo3conf/ext/qfq/Resources/Public/JavaScript/jqx-all.js
  file05 = typo3conf/ext/qfq/Resources/Public/JavaScript/globalize.js
  file06 = typo3conf/ext/qfq/Resources/Public/JavaScript/tinymce.min.js
  file07 = typo3conf/ext/qfq/Resources/Public/JavaScript/EventEmitter.min.js
  file08 = typo3conf/ext/qfq/Resources/Public/JavaScript/typeahead.bundle.min.js
  file09 = typo3conf/ext/qfq/Resources/Public/JavaScript/qfq.min.js

  # Only needed in case FormElement 'annotate' is used.
  file10 = typo3conf/ext/qfq/Resources/Public/JavaScript/fabric.min.js
  file11 = typo3conf/ext/qfq/Resources/Public/JavaScript/qfq.fabric.min.js
}

page.10 = TEXT
page.10.value = Hello World

page.20 < styles.content.get
The last 3 lines can be removed later. They are just there to see if it works. If it worked on the webpage we should see the text: "Hello world".
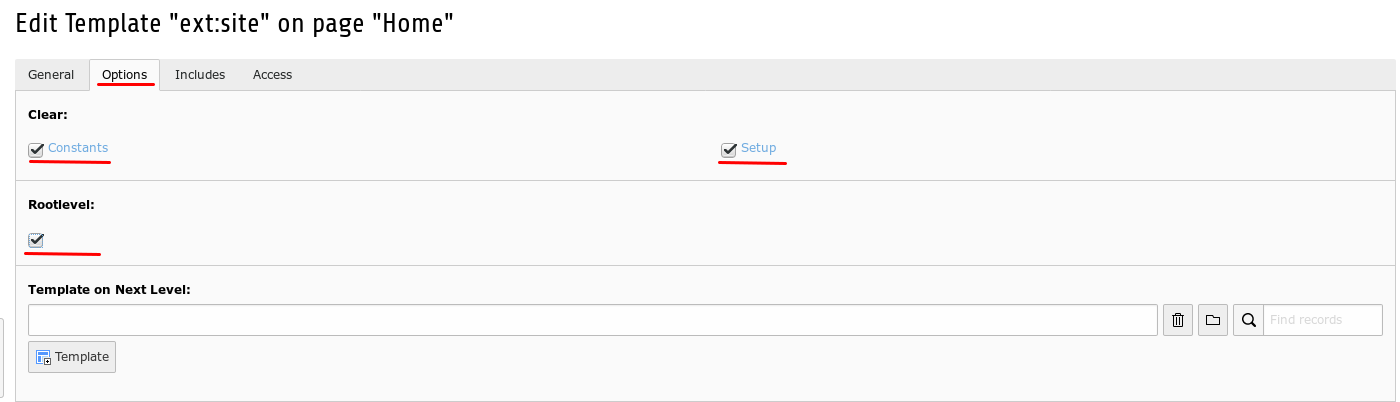
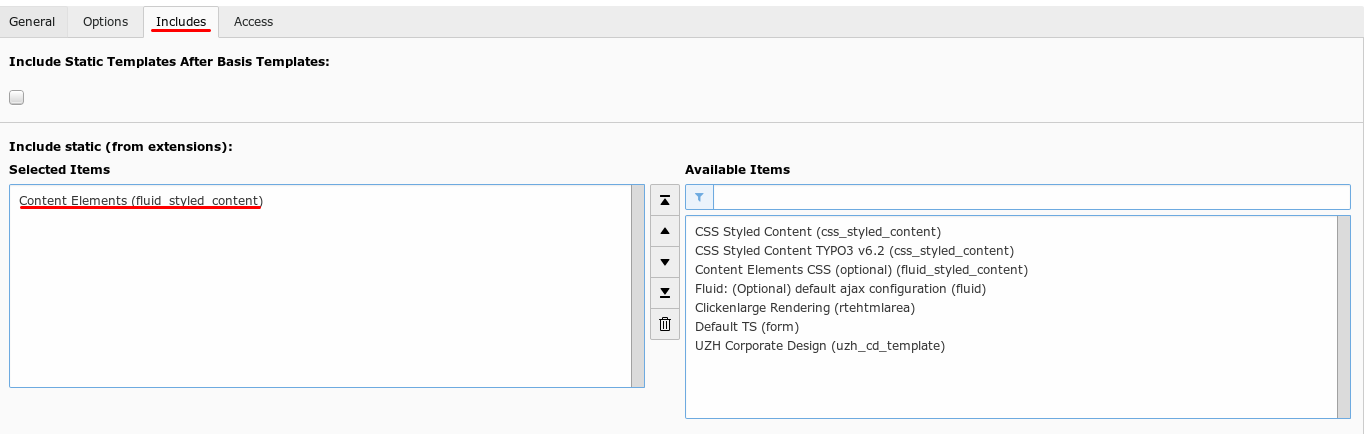
Next you go to Options and mark Constants, Setup und Rootlevel.
Next you go to Includes, Include static and you select: Conten Elements (fluid_styled_content)
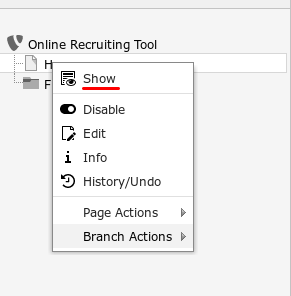
Now you are ready to see for a first time your Website (which has for now only one line of text (Hello World)). To take a look at the website make a right click on Home and press on show.
So now QFQ is installed and Javascript and Bootstrap can be used. Now we want to add the FormEditor to the website such that from now on we are going to be able to create Forms and FormElements on the website. For that purpose we Create a new QFQ element and past in a SQL Query:
First you create a new Page called Setup: