-
 Carsten Rose authoredCarsten Rose authored
Installation of QFQ
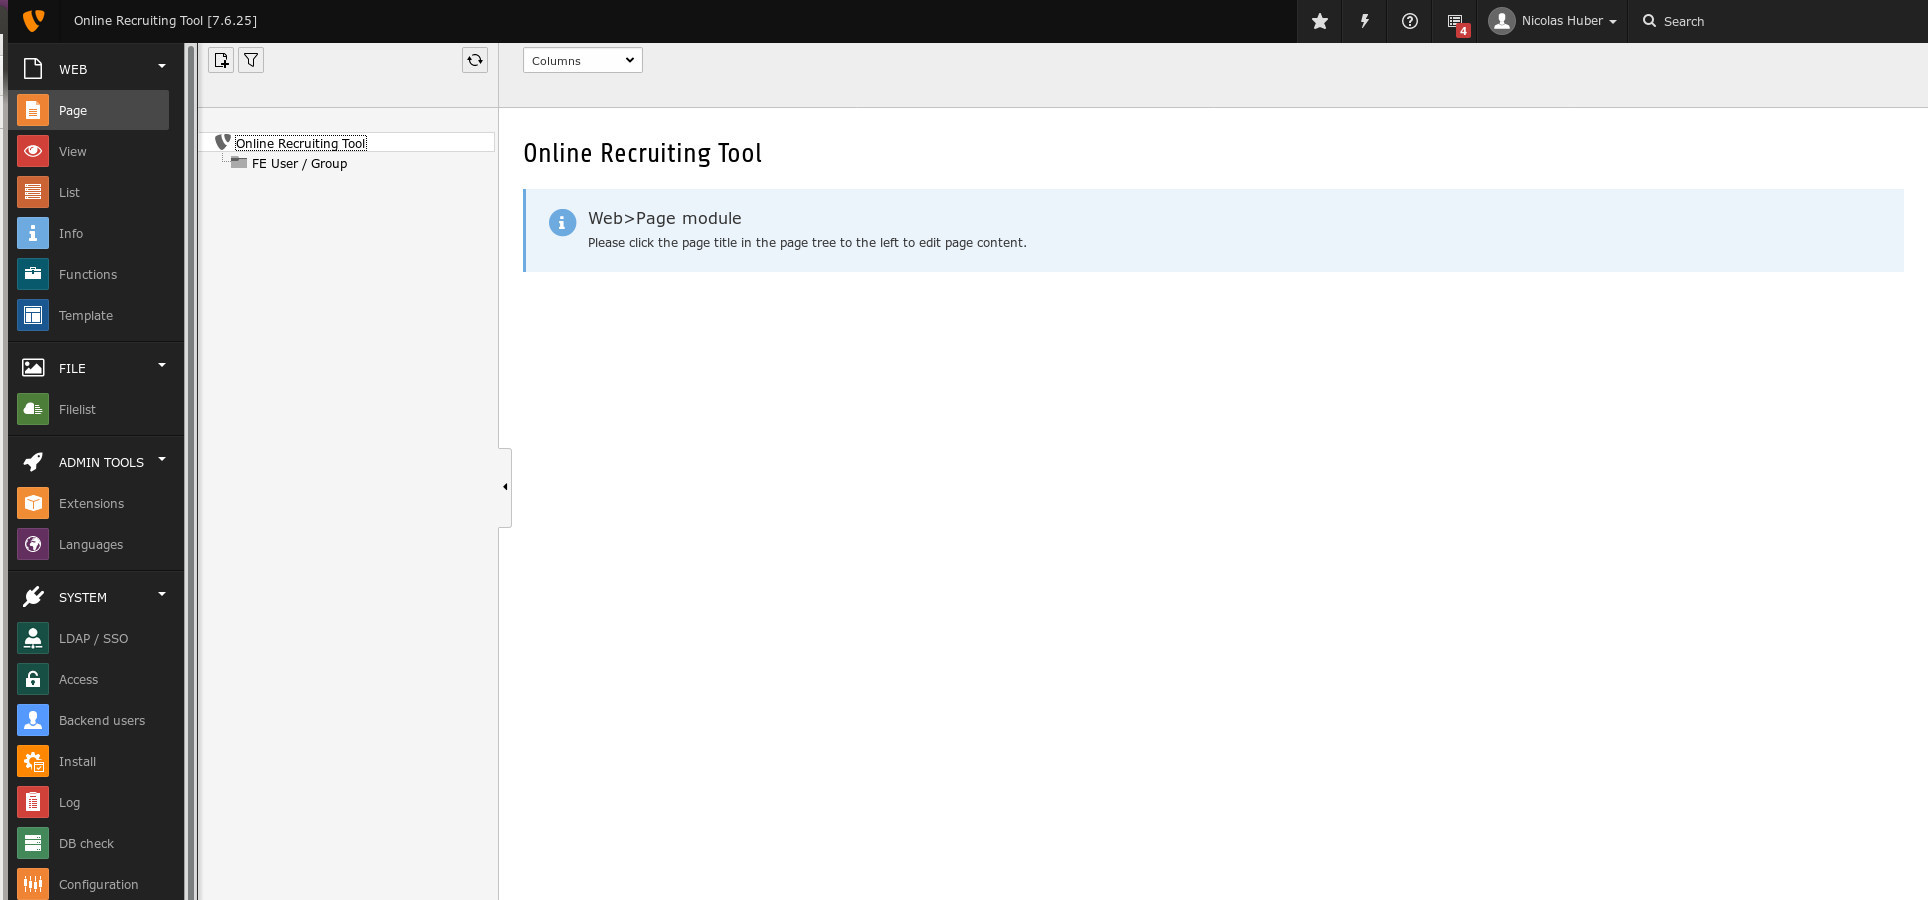
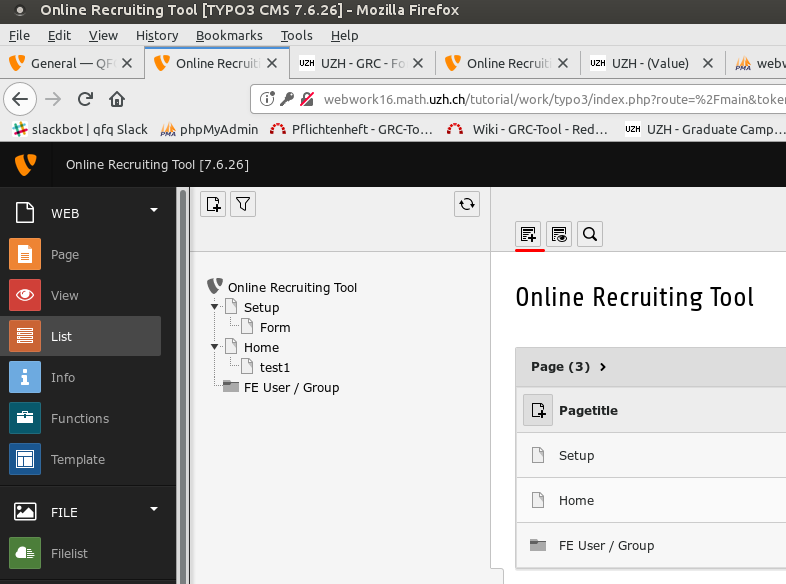
First you have to log in into your Typo3. It is going to look like this:
Then you have to install the QFQ Extension. Go to https://qfq.io/ to download the extension. In Typo3: Go to the Extensions Menu and click on the upload button. There you choose the the file, you just downloaded. Now the QFQ extension is installed. If you get an error message that the file is too big, you have to edit your php.ini file and increase the memory limit.
Copy/rename the file <Documentroot>/typo3conf/ext/<ext_dir>/config.example.qfq.ini to <Documentroot>/typo3conf/config.qfq.ini and configure the necessary values: config.qfq.ini The configuration file is outside the extension directory to not loose it during updates.
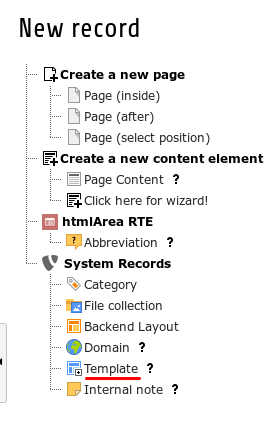
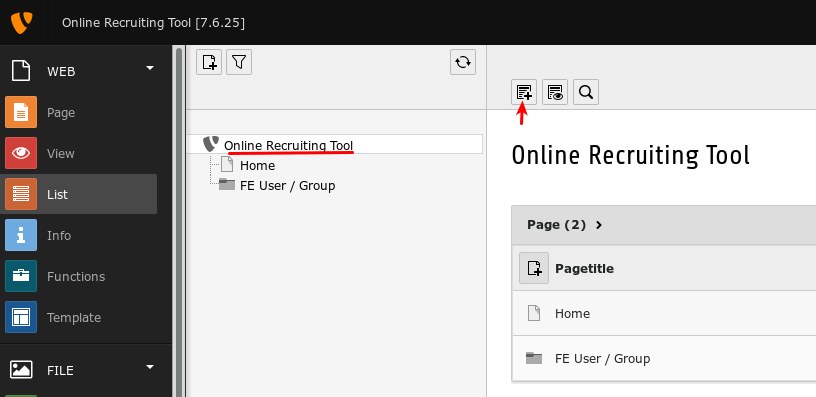
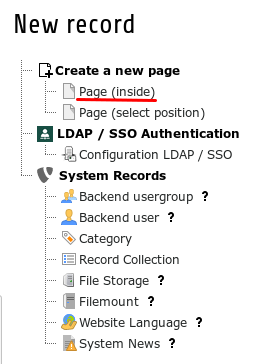
First we want to include Bootstrap and Javascript. For that we create a template. Go to list and create a new page.
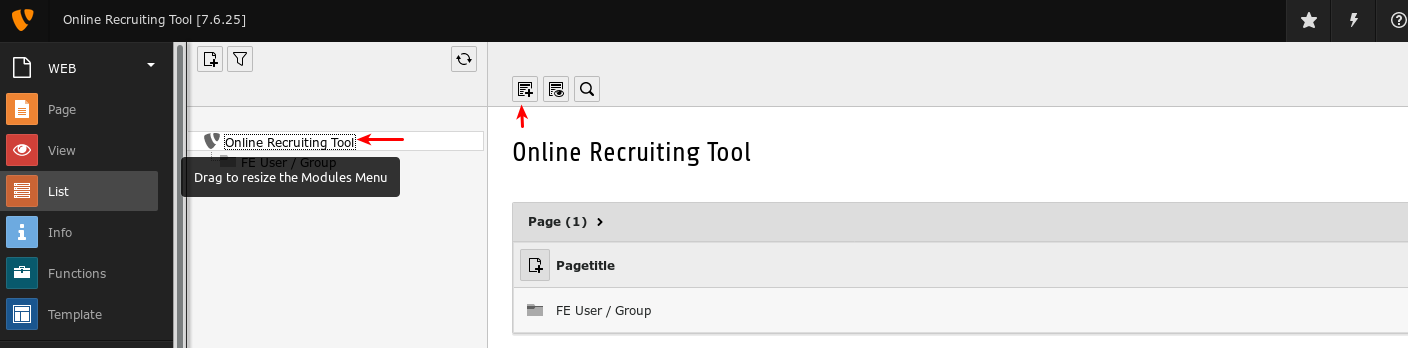
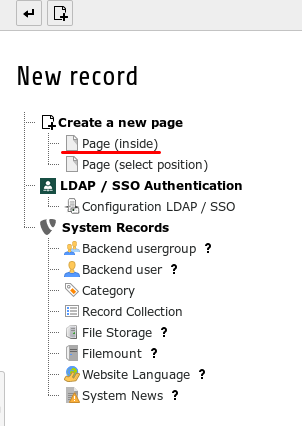
Click on Page (inside)
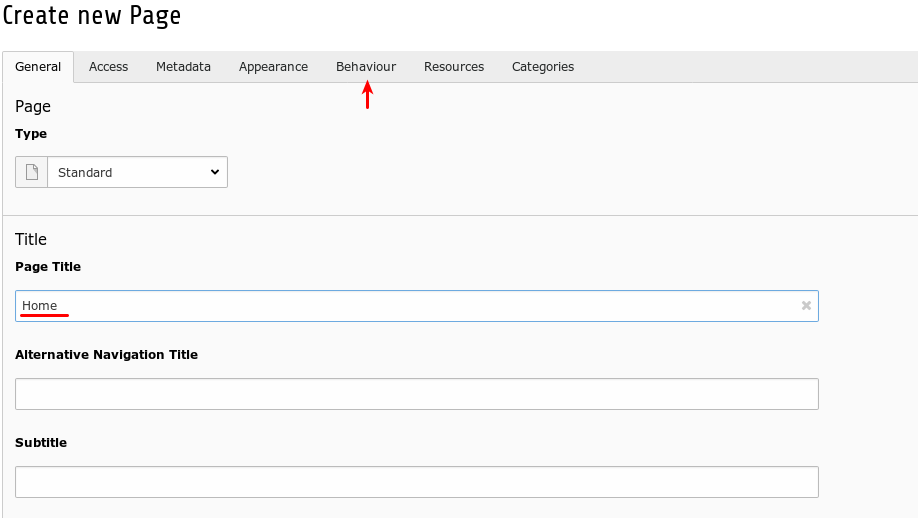
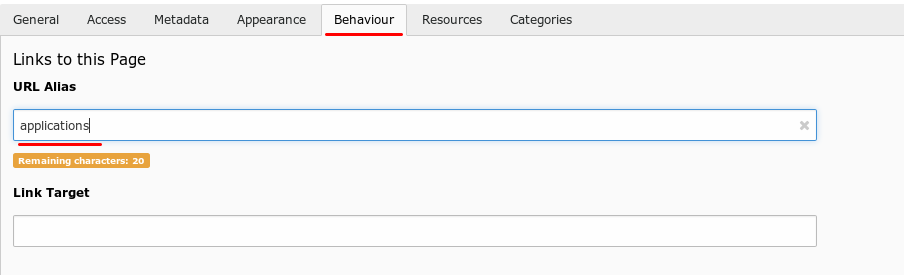
You can choose some Page Title. I am calling it Home. Next you go to Behaviour:
Here you choose a URL Alias. I am going to call it home. So in my case, to access this page, if would have to go to the following website: www.<nameOfYourWebsite>.<domain>/home
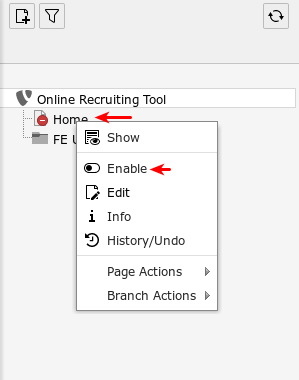
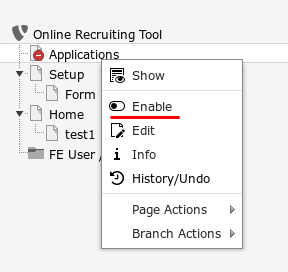
Then you save it. Now you see a new page which is disabled for now. You have to enable it (so the site will be visible on the website). Right click the Page Home and click 'Enable'.
Now on that page you want to include Bootstrap and CSS. For that purpose you click on Home and you add a new content element. Click on template:
Now we name the Template: ext:site (actually you can call it whatever you want)
Under setup you paste the following:
page = PAGE

page.meta {
  X-UA-Compatible = IE=edge
  X-UA-Compatible.attribute = http-equiv
  viewport=width=device-width, initial-scale=1
}

page.includeCSS {
  file1 = typo3conf/ext/qfq/Resources/Public/Css/bootstrap.min.css
  file2 = typo3conf/ext/qfq/Resources/Public/Css/bootstrap-theme.min.css
  file3 = typo3conf/ext/qfq/Resources/Public/Css/jqx.base.css
  file4 = typo3conf/ext/qfq/Resources/Public/Css/jqx.bootstrap.css
  file5 = typo3conf/ext/qfq/Resources/Public/Css/qfq-bs.css
}

page.includeJS {
  file01 = typo3conf/ext/qfq/Resources/Public/JavaScript/jquery.min.js
  file02 = typo3conf/ext/qfq/Resources/Public/JavaScript/bootstrap.min.js
  file03 = typo3conf/ext/qfq/Resources/Public/JavaScript/validator.min.js
  file04 = typo3conf/ext/qfq/Resources/Public/JavaScript/jqx-all.js
  file05 = typo3conf/ext/qfq/Resources/Public/JavaScript/globalize.js
  file06 = typo3conf/ext/qfq/Resources/Public/JavaScript/tinymce.min.js
  file07 = typo3conf/ext/qfq/Resources/Public/JavaScript/EventEmitter.min.js
  file08 = typo3conf/ext/qfq/Resources/Public/JavaScript/typeahead.bundle.min.js
  file09 = typo3conf/ext/qfq/Resources/Public/JavaScript/qfq.min.js

  # Only needed in case FormElement 'annotate' is used.
  file10 = typo3conf/ext/qfq/Resources/Public/JavaScript/fabric.min.js
  file11 = typo3conf/ext/qfq/Resources/Public/JavaScript/qfq.fabric.min.js
}

page.10 = TEXT
page.10.value = Hello World

page.20 < styles.content.get
The last 3 lines can be removed later. They are just there to see if it works. If it worked on the webpage we should see the text: "Hello world".
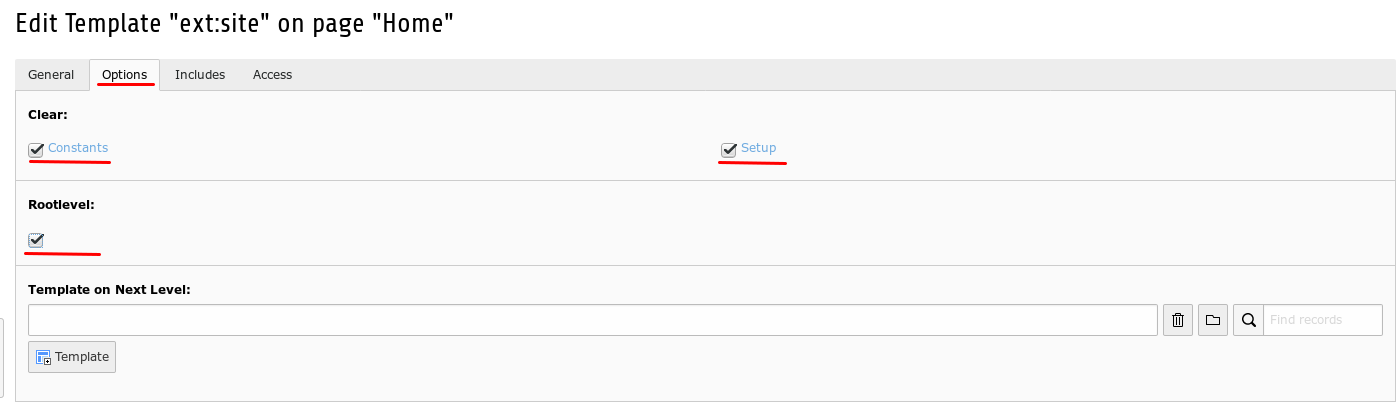
Next you go to Options and mark Constants, Setup und Rootlevel.
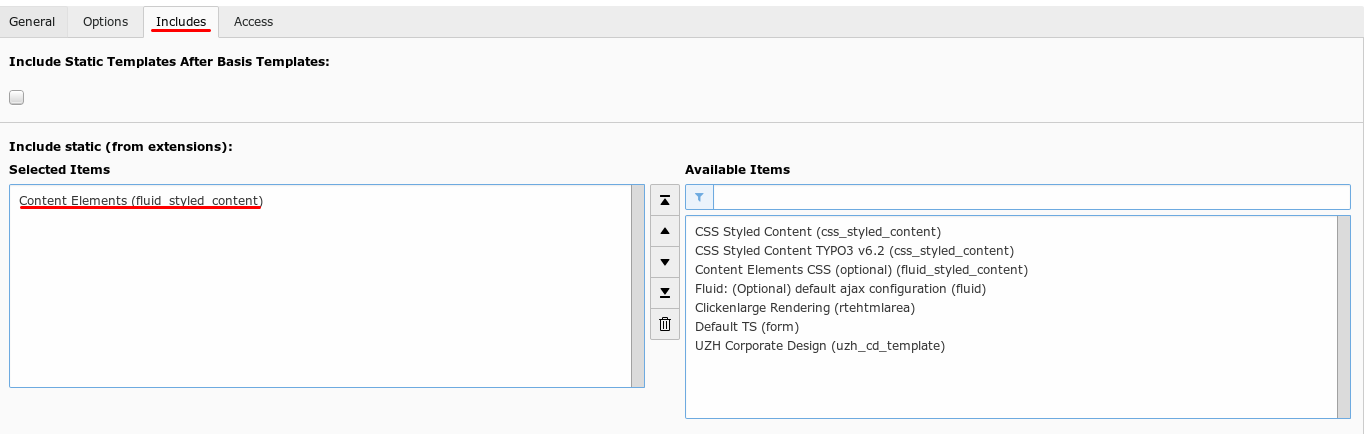
Next you go to Includes, Include static and you select: Conten Elements (fluid_styled_content)
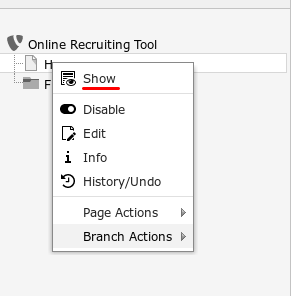
Now you are ready to see for a first time your Website (which has for now only one line of text (Hello World)). To take a look at the website make a right click on Home and press on show.
So now QFQ is installed and Javascript and Bootstrap can be used. Now we want to add the FormEditor to the website such that from now on we are going to be able to create Forms and FormElements on the website. For that purpose we Create a new QFQ element and past in a SQL Query:
First you create a new Page called Setup:
As Page Title you type in Setup (As always you are free to name it however you want). Next you have to go to Behaviour and under URL Alias you type in setup. As before you have to enable the page.
From now on I am going to use another template. I do this because with my template the webpage is going to look better. So from now on my webpage will look not the same as your website. Don't worry about it.
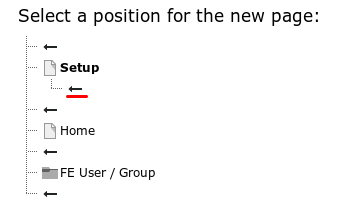
Now Create a subpage of Setup. There we will put the FormEditor in. In order to do that right click Setup, go to Page Actions and click on New:

Here You Type in Form as Page Title and form as an alias.
Next you have to create a template for this page. You can copy the template from the home page. In order to do that go to Home and copy the Template:
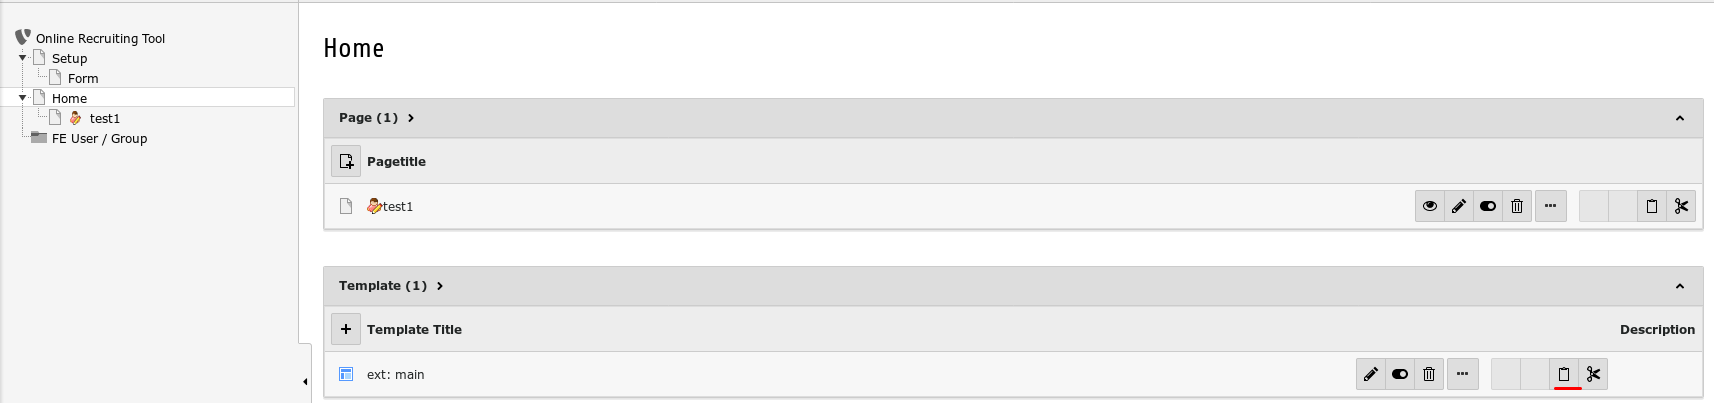
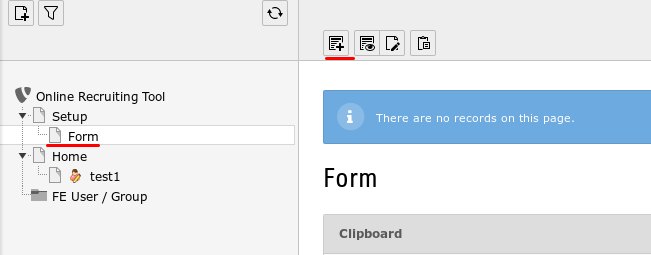
Now you go to Setup and click on the past Button:
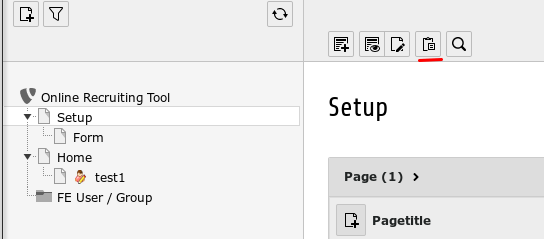
Now you click on the Form Page and create a new QFQ element.
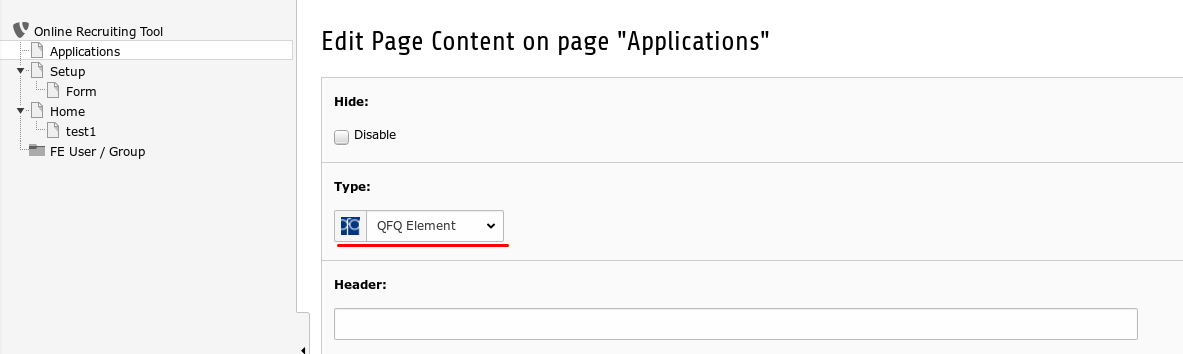
There you click on Page Content. After that Chose the type QFQ Element.
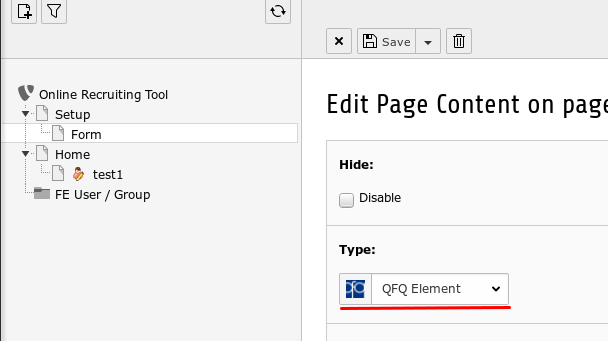
Now past in the following code into the Text field:
form={{form:SE}}
10 {
sql = SELECT CONCAT('{{pageId:T}}&form=Form&') as _Pagen, '#', 'Name', 'Title', 'Table', '' FROM (SELECT 1) AS fake WHERE '{{form:SE}}'=''
head = <table class="table table-hover qfq-table-50">
tail = </table>
rbeg = <thead><tr>
rend = </tr></thead>
fbeg = <th>
fend = </th>
10 {
# All forms
sql = SELECT CONCAT('{{pageId:T}}&form=Form&r=', f.id) as _Pagee, f.id, f.name, f.title, f.tableName, CONCAT('form=form&r=', f.id) as _Paged FROM Form AS f ORDER BY f.name
rbeg = <tr>
rend = </tr>
fbeg = <td>
fend = </td>
}
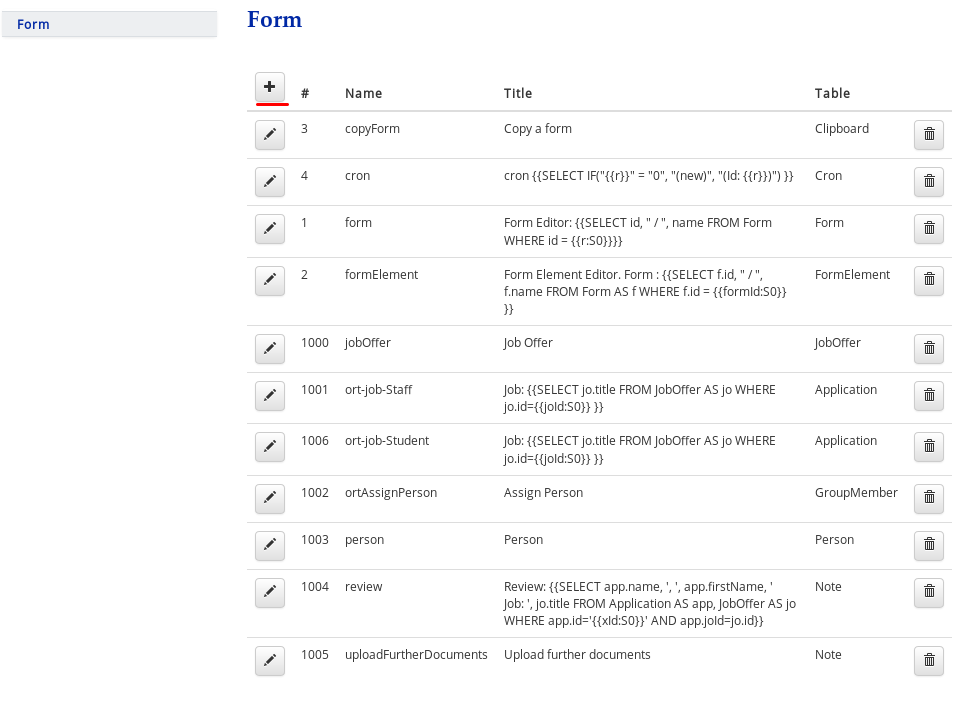
}Now your page should look like this:
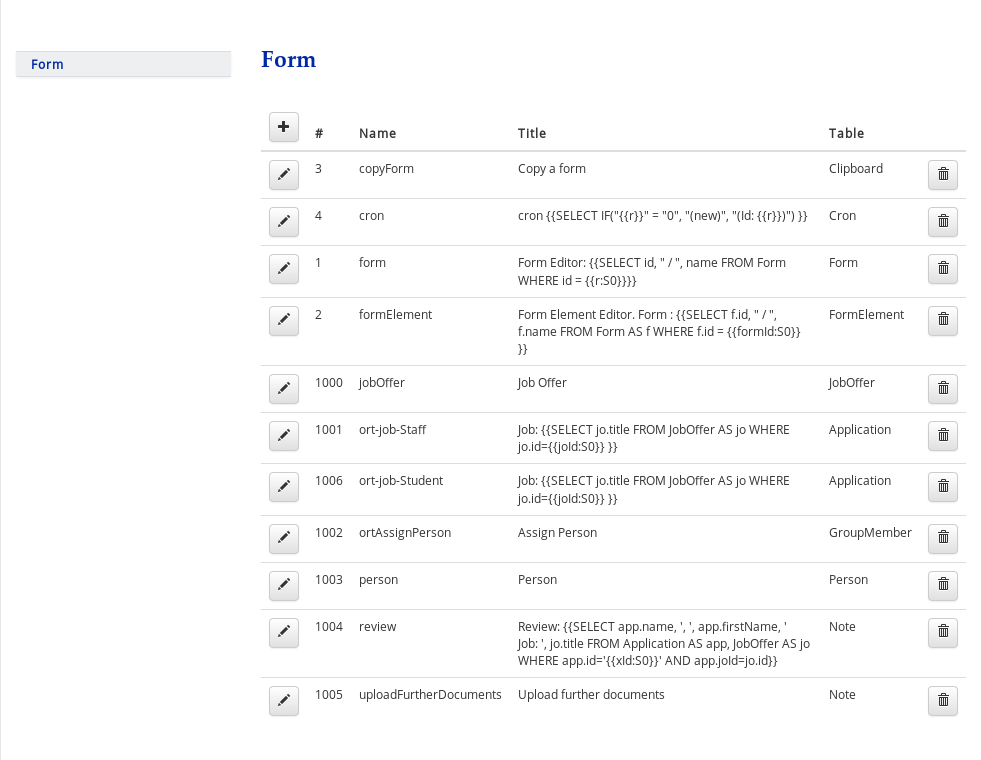
It is important to say that your screen can look different. Probably your list is going to be empty. If so, don't worry. It doesnt matter as these are all forms which we are not going to use. We are going to create new Forms.
Creating Forms
Now we are going make a little project. We want to create a website where you can apply for different jobs. Step by step we will create a little recruiting tool out of it. Our first step will be that we create a form where the applicant can fill out some information about himself like his name, first name, date of birth etc. To store the data the applicant fills into the form we will create a database, and a little visualisation of the database.
First of all let's create our database. In order to do that log in into your phpMyAdmin.
There you have to create A database. When you have your Database go to SQL and past in the following code:
CREATE TABLE `Application`
(
`id` INTEGER NOT NULL AUTO_INCREMENT ,
`name` VARCHAR( 255 ) ,
`firstName` VARCHAR( 255 ) ,
`gender` ENUM( 'male','female' ) ,
`dateOfBirth` DATE ,
`adrStreet` VARCHAR( 255 ) ,
`adrZipCity` VARCHAR( 255 ) ,
`uploadPath` VARCHAR( 255 ) ,
PRIMARY KEY `id`(`id`)
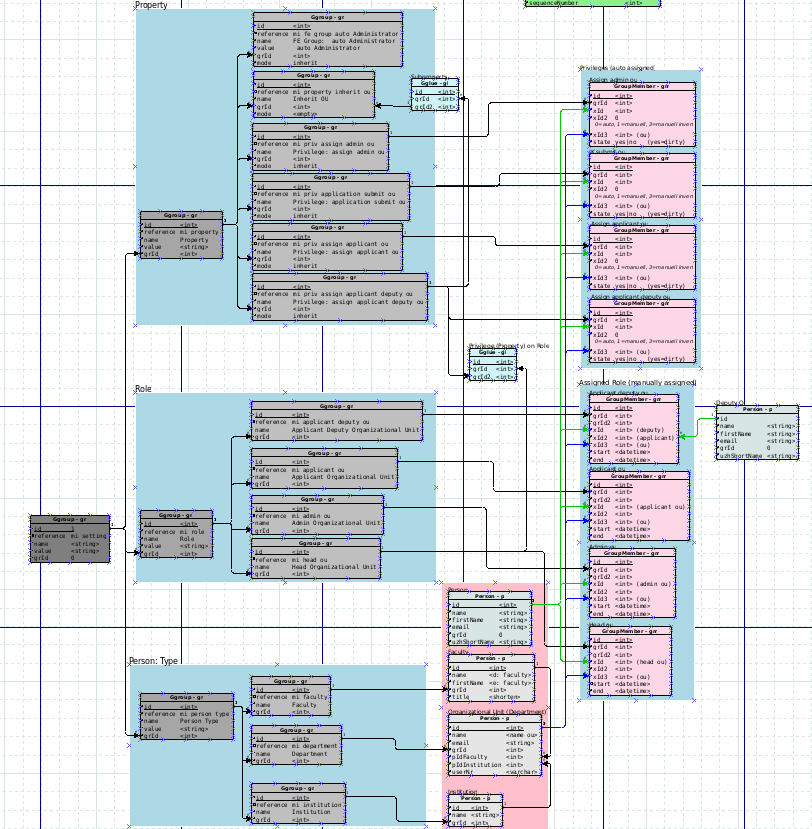
) ENGINE = INNODB DEFAULT CHARSET = utf8The Query above creates a table with some rows in it. The purpose of that database is that whenever somebody fills out a form, we will be able to save the data into this database. The next step is, that we should create our fist Visualisation of our database. At the beginning of a project it seems silly to do that, but the further we go and the more tables we use in that project, the more complicated our datastructure is going to become. At that point we are not only happy about the dia, but we are even dependent of that visualisation of our Database as elsewise we would lose track of our datastructure. So it is very important to keep in mind, that whenever you have some new tables or new ways the different tables are connected to each other, to add this into the visualisation.
As soon as our database structure is a little bit more complicated the dia is going to look something like this:
The programm we are going to use is called Dia. You can use whatever programm you want. If you want to use the same program as me you can download it here: http://dia-installer.de/
When you first start the program it will look something like this:
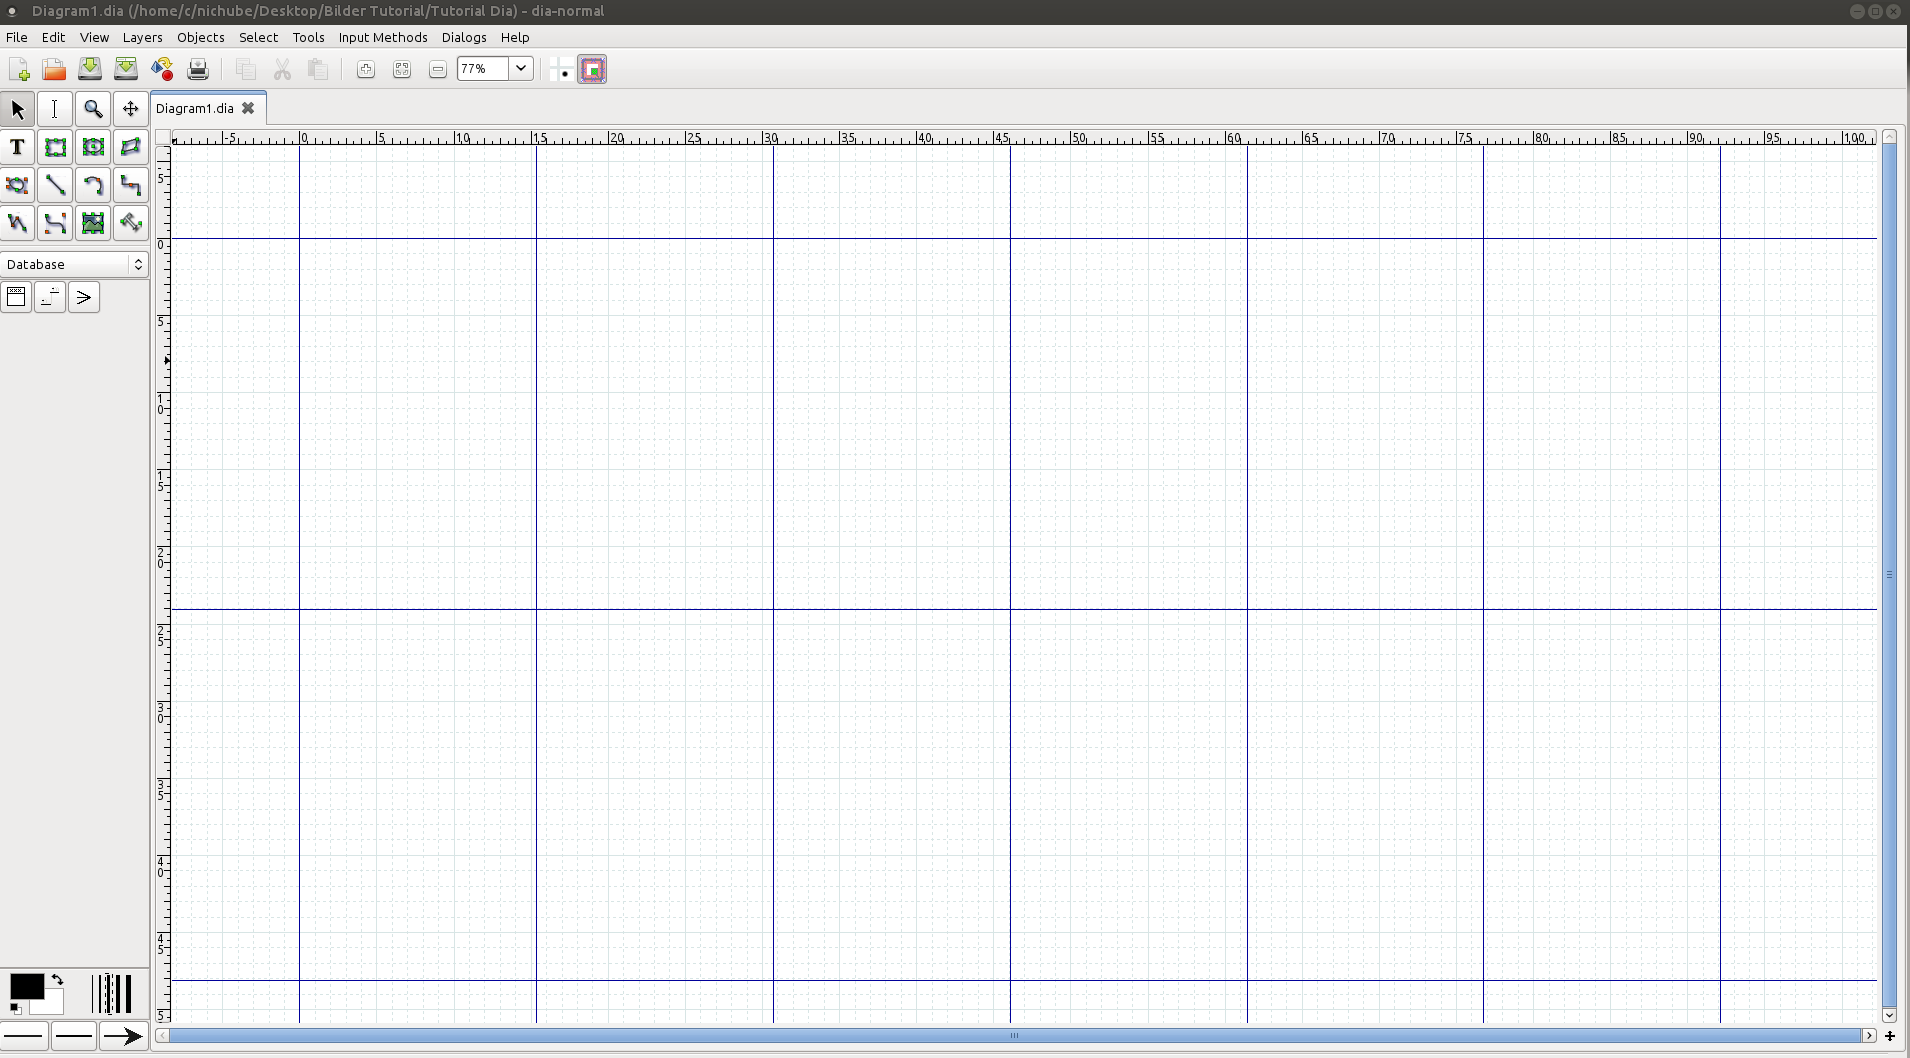
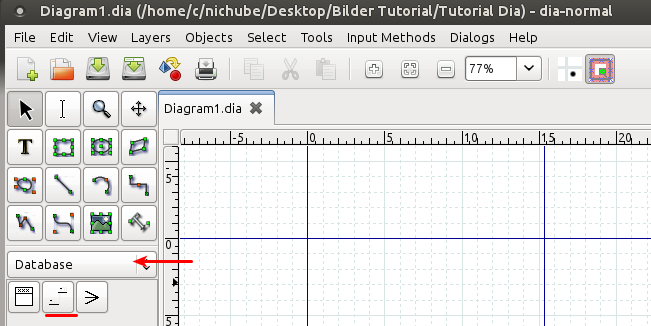
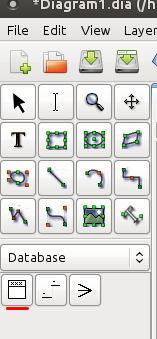
First you have to create a Diagramm in mode Database.
Next you have to create a rectangle:
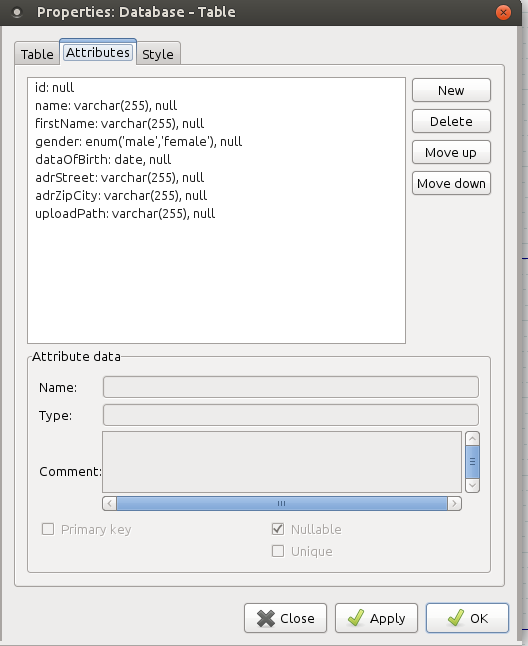
You double-click the box, go to Attributes, and add all the table rows. At the end it should look like this:
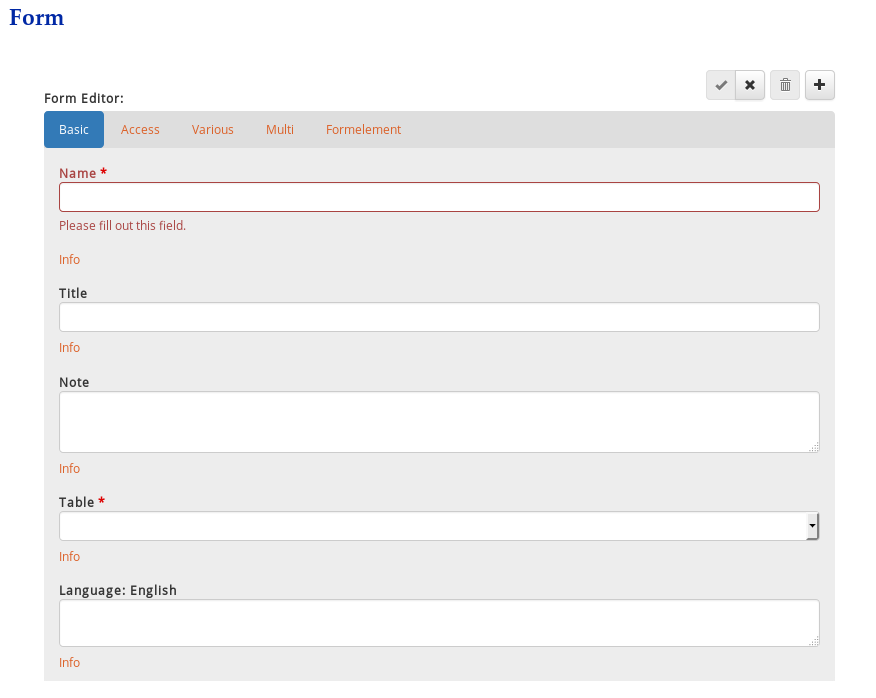
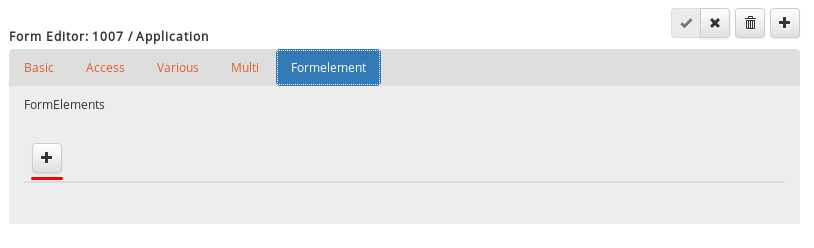
Now we are going to create our first form. Whenever a person wants to apply for a job, he or she has to fill out this form. For that purpose we go to our website, go to Form and create a new form by clicking on the + sign:
Then you will see the following screen:
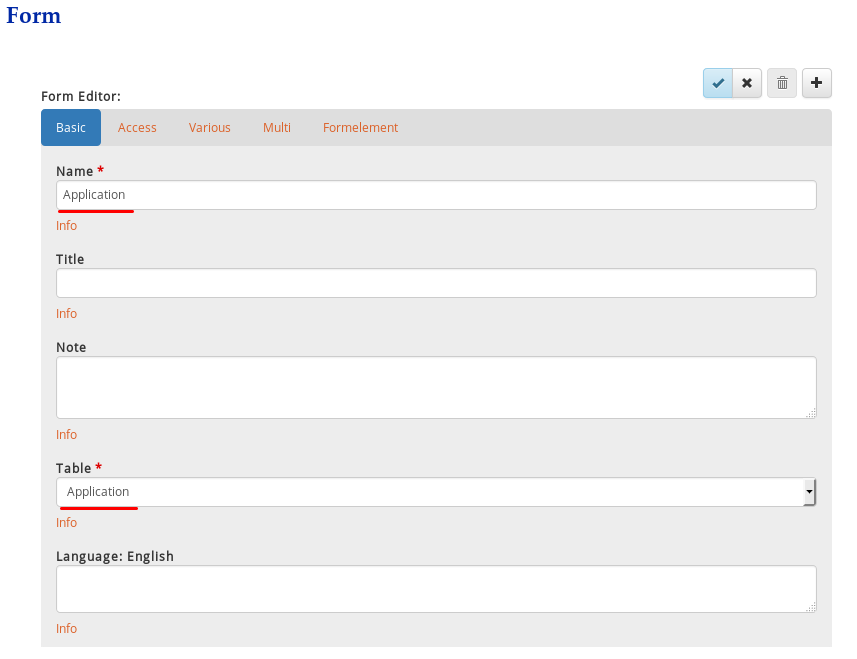
For the name you can type in whatever you want to. I am going to call it Application. The most imporant thing here is that you chose the right table. The data, entered by the user will be saved in that Database Table. We select of course the Application Table.
Now we are ready to create our first Form Elements. For this purpose go to the Pill Form Element. Then we click on the + sign.
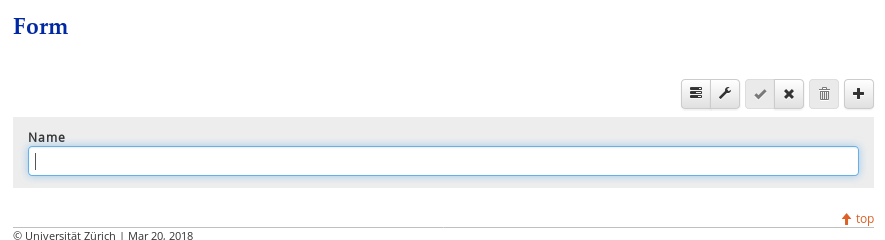
First we want to create a textbox, where the user can input his name. So what we want to do is create a Form Element of the type text, which stores the users input into the row name of the table Application. So what we do is the follwing: - Name: We type in name (name of the database row) - Label: Name (is what will be desplayed in front of the textbox) - Type: Text Then you can save the Form Element and click at the eye to take a look at the form (how the form looks like).

It should look something like this:
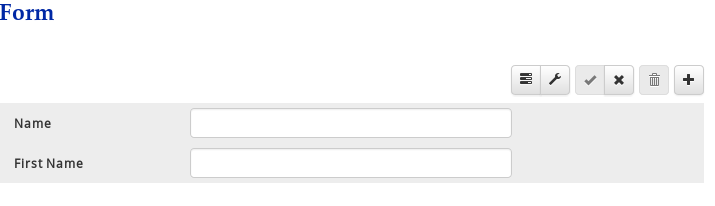
Now do the same thing for the First Name. It works exactely the same way. I won't explain it again. Now your form should look like this.
Next we want to create a checkbox, where the user can enter his gender. As there are only 2 genders. For that purpose we create a new form Element of the type checkbox.
- Name: We type in gender (name of the database row)
- Label: Gender (is what will be displayed in front of the Checkboxes)
- Type: Radio
Detailed information: https://docs.typo3.org/typo3cms/drafts/github/T3DocumentationStarter/Public-Info-053/Manual.html#type-radio

But here it is not enough to only create a checkbox. In addition we have to define which possibilities the user has for an input. We do that as follows: We go to the pill value and write the following into the textbox parameter:
itemList=male,femaleNow it is going to look like this:
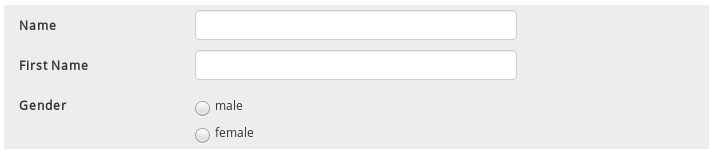
But we want that the 2 radios are at the same line. For that purpose we edit the Form Element. We go to the Pill Layout and change MaxLength to 2.
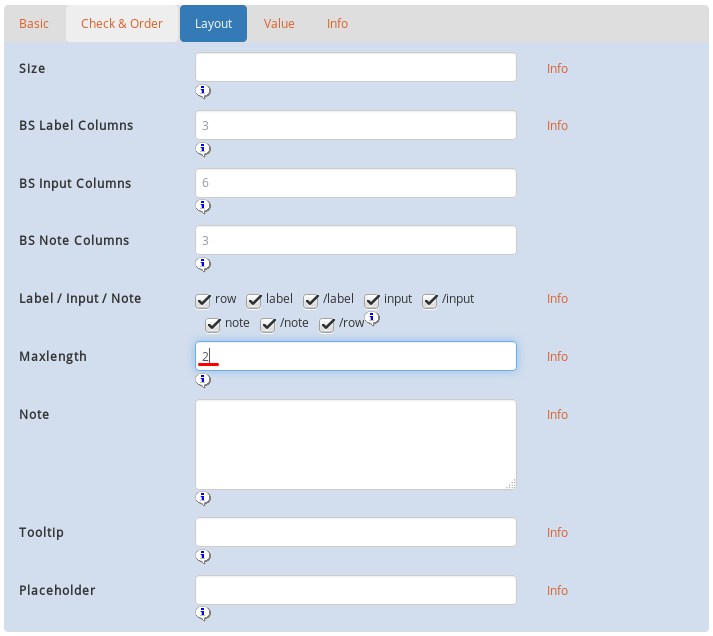
In general if you want to put n elements on the same line, Put n as the MaxLength.
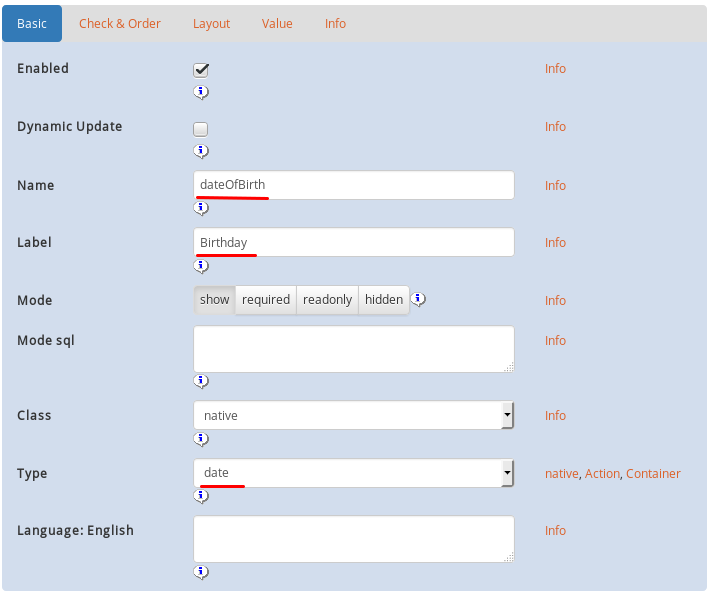
Next we want to create a textbox, where the user can enter his date of birth. We do the exactely same thing as what we did when we wanted to create a textbox for the name or the first name. But this time the type of the Form Element is going to be Date. Details: https://docs.typo3.org/typo3cms/drafts/github/T3DocumentationStarter/Public-Info-053/Manual.html#type-date
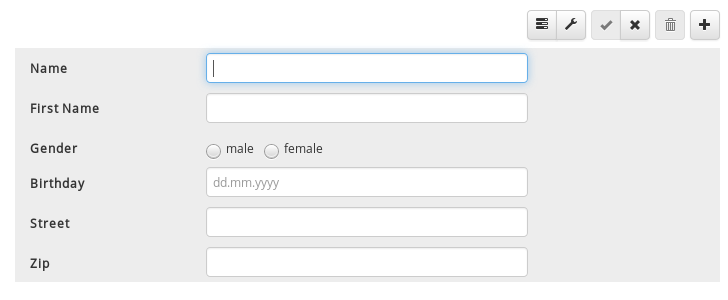
As an exercise for you, you can add 2 more Form Elements (Textboxes) where the user can enter his Street (incl. number) and zip. It should look like this:
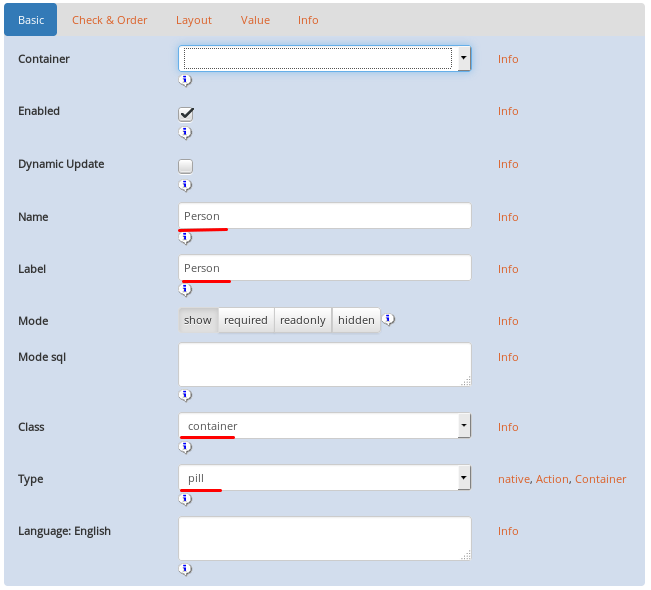
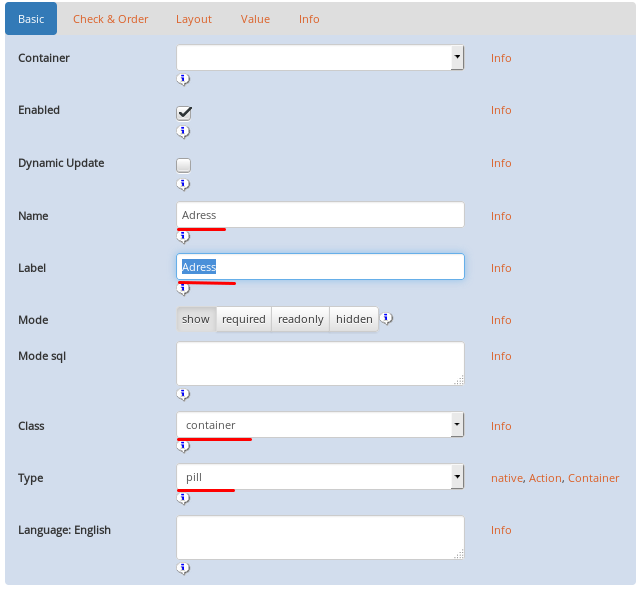
Now we have a few Form Elements but it doesn't look very nice. Moreover everything is on the same pill. So we want to create 2 pills. One pill for your personal data like name, first Name, date of birth and gender and another pill for your adress. For that purpose we are going create a new Form element. This time it will be a Form element of class container und of type pill. Details: https://docs.typo3.org/typo3cms/drafts/github/T3DocumentationStarter/Public-Info-053/Manual.html#type-pill-tab
Next we want to assign all Form elements which contain personal data to that pill. To do that, edit one of the form Elements which should be in this pill and assign it to the corresponding pill:
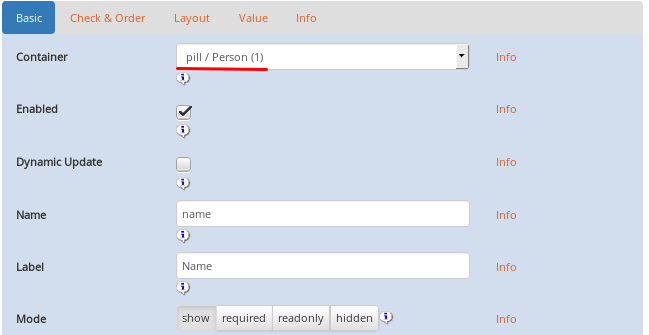
We do the exact same thing for all the elements which contain personal data. I am not going to show it for each element, as it's the same for all.
Next we have to create a second pill which contains all form Elements for the adress. As before create a new pill:
And assign the 2 left form Elements to that pill (excately as before).
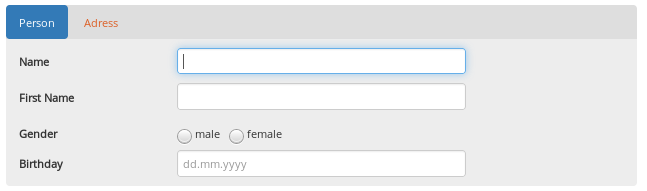
Now your Form should look something like this:
Report
Next we want to create a page where we can see a list of all applications so far. Because the problem is that people have the possibility to open the Form and write their names into the Form but that information is displayed nowhere. So now, in order to see later anything in that list of all applications, it would be useful if you open the Form and type something in. Because if we don't, the list of applications will be empty of corse. Next go to Typo3 and create a new page.
Next you have to give the page a title. I am going to call it Applications:
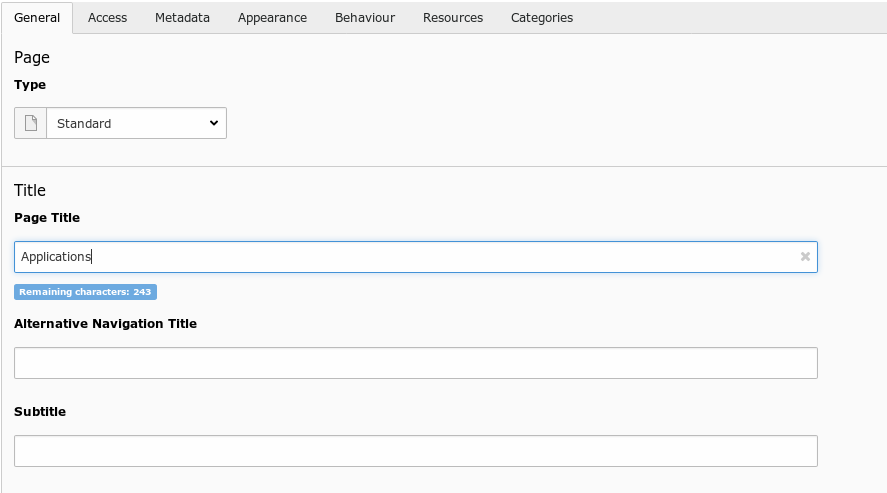
And you have to give the page a page Alias.
As always you have to enable the page.
Next you have to put some content on the Applications page. For that purpose create a new QFQ Element:
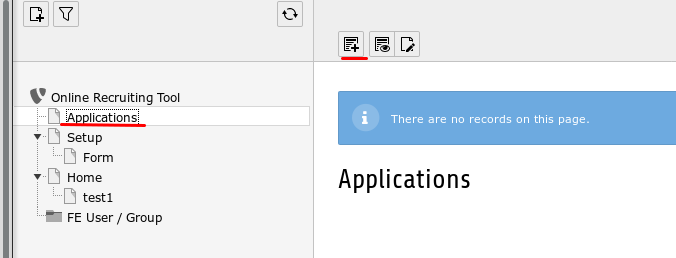
Click on Page Content:
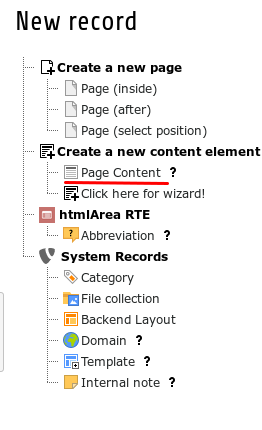
Chose the type QFQ Element.
Now you can put SQL Queries into the Text box.
You can paste the following SQL Query into the Text box:
10 {
  sql = SELECT a.id, a.name, a.firstname, a.gender, a.dateOfBirth, a.adrStreet, a.adrZipCity FROM Application AS a
    head = <table class='table table-hover qfq-table-50'><thead><tr><th>#</th><th>name</th><th>First Name</th> <th>Gender</th><th>Date of birth</th><th>Street</th><th>Zip</th></tr><thead><tbody>
    tail = </tbody></table>
    rbeg = <tr>
    rend = </tr>
    fbeg = <td>
    fend = </td>

}
This code displays all Applications so far. The first part (The select statement) is just usual SQL Code. You should know that already. The interesting part is the part below the SQL statement. Here a little explaination of that part of the code:
- head = ... : This line is being executed before the SQL statement gets executed. So it is generating a table header.
- tail = ... : This line is being executed as soon as the SQL stement is fininshed and all the data has been displayed on the screen.
- rbeg = ... : Rbeg means row beginn. At every row beginn a <tr> is being placed.
- rend is row end, fbeg is field beginn and fend is field end. So whenever a field or a row starts or ends, one of the HTML statements
are going to be executed.